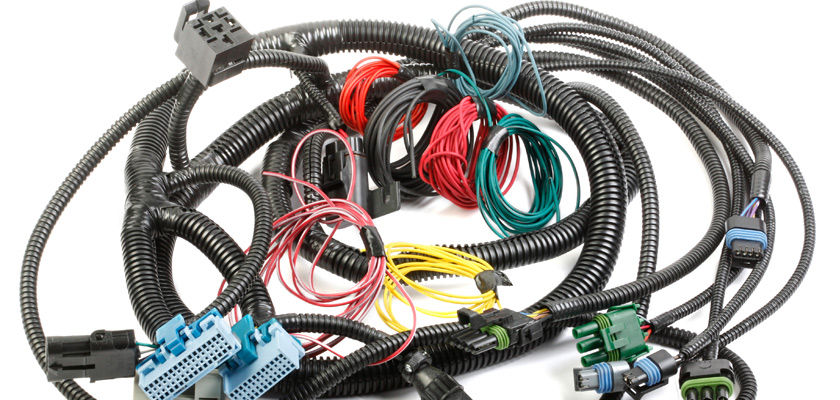
You may know what a wire harness is and what all applications it can be used in. but do you know how it is built? It could be a small bundle with two wires and two connectors, or a large and complicated one that has 5000 wires and more than 100 connectors, but they are all manufactured following the same procedures. There are five basic steps that need to be followed while building a wire harness – simple or complicated. Miracle Electronics is a professional wire harness manufacturer in India who not only follows these basic steps to manufacture great wire harnesses, but also makes sure to use the best quality materials and test its products before letting it be delivered to the clients.
Cutting the wires
The first and foremost step for constructing every wire harness is measuring, marking, and cutting each wire involved individually. Laser wire marking is the method to place a permanent mark on a wire using a laser. Therefore, a laser wire marking machine can be used to carry out all three tasks properly. After marking and cutting the wires, the next step is to lay out these wires properly.
Laying out the wires
Once all the wires are cut, the assembler lays down each wire individually onto a Harness Assembly Drawing (HAD) – a drawing used to help in the manufacturing of electrical wire harnesses by showing how wires are routed from one end point to another. Before manufacturing a harness, a HAD is printed in full scale to ensure that the exact dimensions are met. Once the HAD is created and printed, it is placed on a table where the harness is then assembled on top of it. Different wires have different gauges. Also, some wires have a metal shield around the main conductor while others do not. But, all these wires need to be perfectly routed. Once routed, these wires are grouped together using a tape or string tie. Now, these grouped wires go in for wire termination.
Wire termination
Wire termination is a process utilized on the end of every wire to allow it to connect to a connector, switch, terminal, or any other relevant device. There are two types of wire termination processes that can be carried out – crimp termination and solder termination. Crimp termination is when the device requires a contact or terminal. Here, the wire insulation is stripped, and the contact or terminal is attached to the wire using a crimp tool. Solder termination, on the other hand, is when the wire conductors directly attach to the device. This requires stripping off the wire insulation and applying solder and flux to connect the wire to the device. It is highly important that all wire terminations are performed correctly. The wire harness is then moved on to the testing stage.
Testing
After the wire harness is constructed, it is tested for any faults. The two main tests carried out are the continuity testing and insulation resistance testing. A continuity test will verify the flow of current in the electrical circuit, meaning that the circuit is continuous. This test is performed by placing a small voltage between two or more endpoints of the circuit. An insulation resistance test uses an applied DC voltage to test for current resistance and to keep the current on its path along the conductor. The wire harness is then sent for dressing out.
Dressing out
Dressing out of a wire harness includes heating up and shrinking down tubing, making sure that the reference designator labels and wire harness identifiers are located properly, putting dust cover caps on connectors to protect them, and final inspection. Once all of this is done properly, the wire harness is then packaged and shipped to the client.


